
Last updated: January 2nd, 2023
This site talks plenty about gear because, let’s be real, it’s pretty cool. There is an endless array of neat stuff to check out. And when something is part of your daily life, it really is worth spending a bit to make it optimal.
As I discussed here, a good city bike will cost at least $400-$800 new for one that’s actually worth owning. And as for a city bike that’s fully equipped off the shelf, the best deals begin at around a grand.
But what if you’re just getting into the world of bike commuting and urban cycling?
Do you have to drop so much hard-earned cash just to test the waters?
Fortunately, that’s usually not necessary. We’ll take a look at why, as well as a few cases where a new bike does make more sense.
This article might contain affiliate links. As a member of programs including Amazon Associates, I earn from qualifying purchases.
Can you set up your bicycle as a commuter?
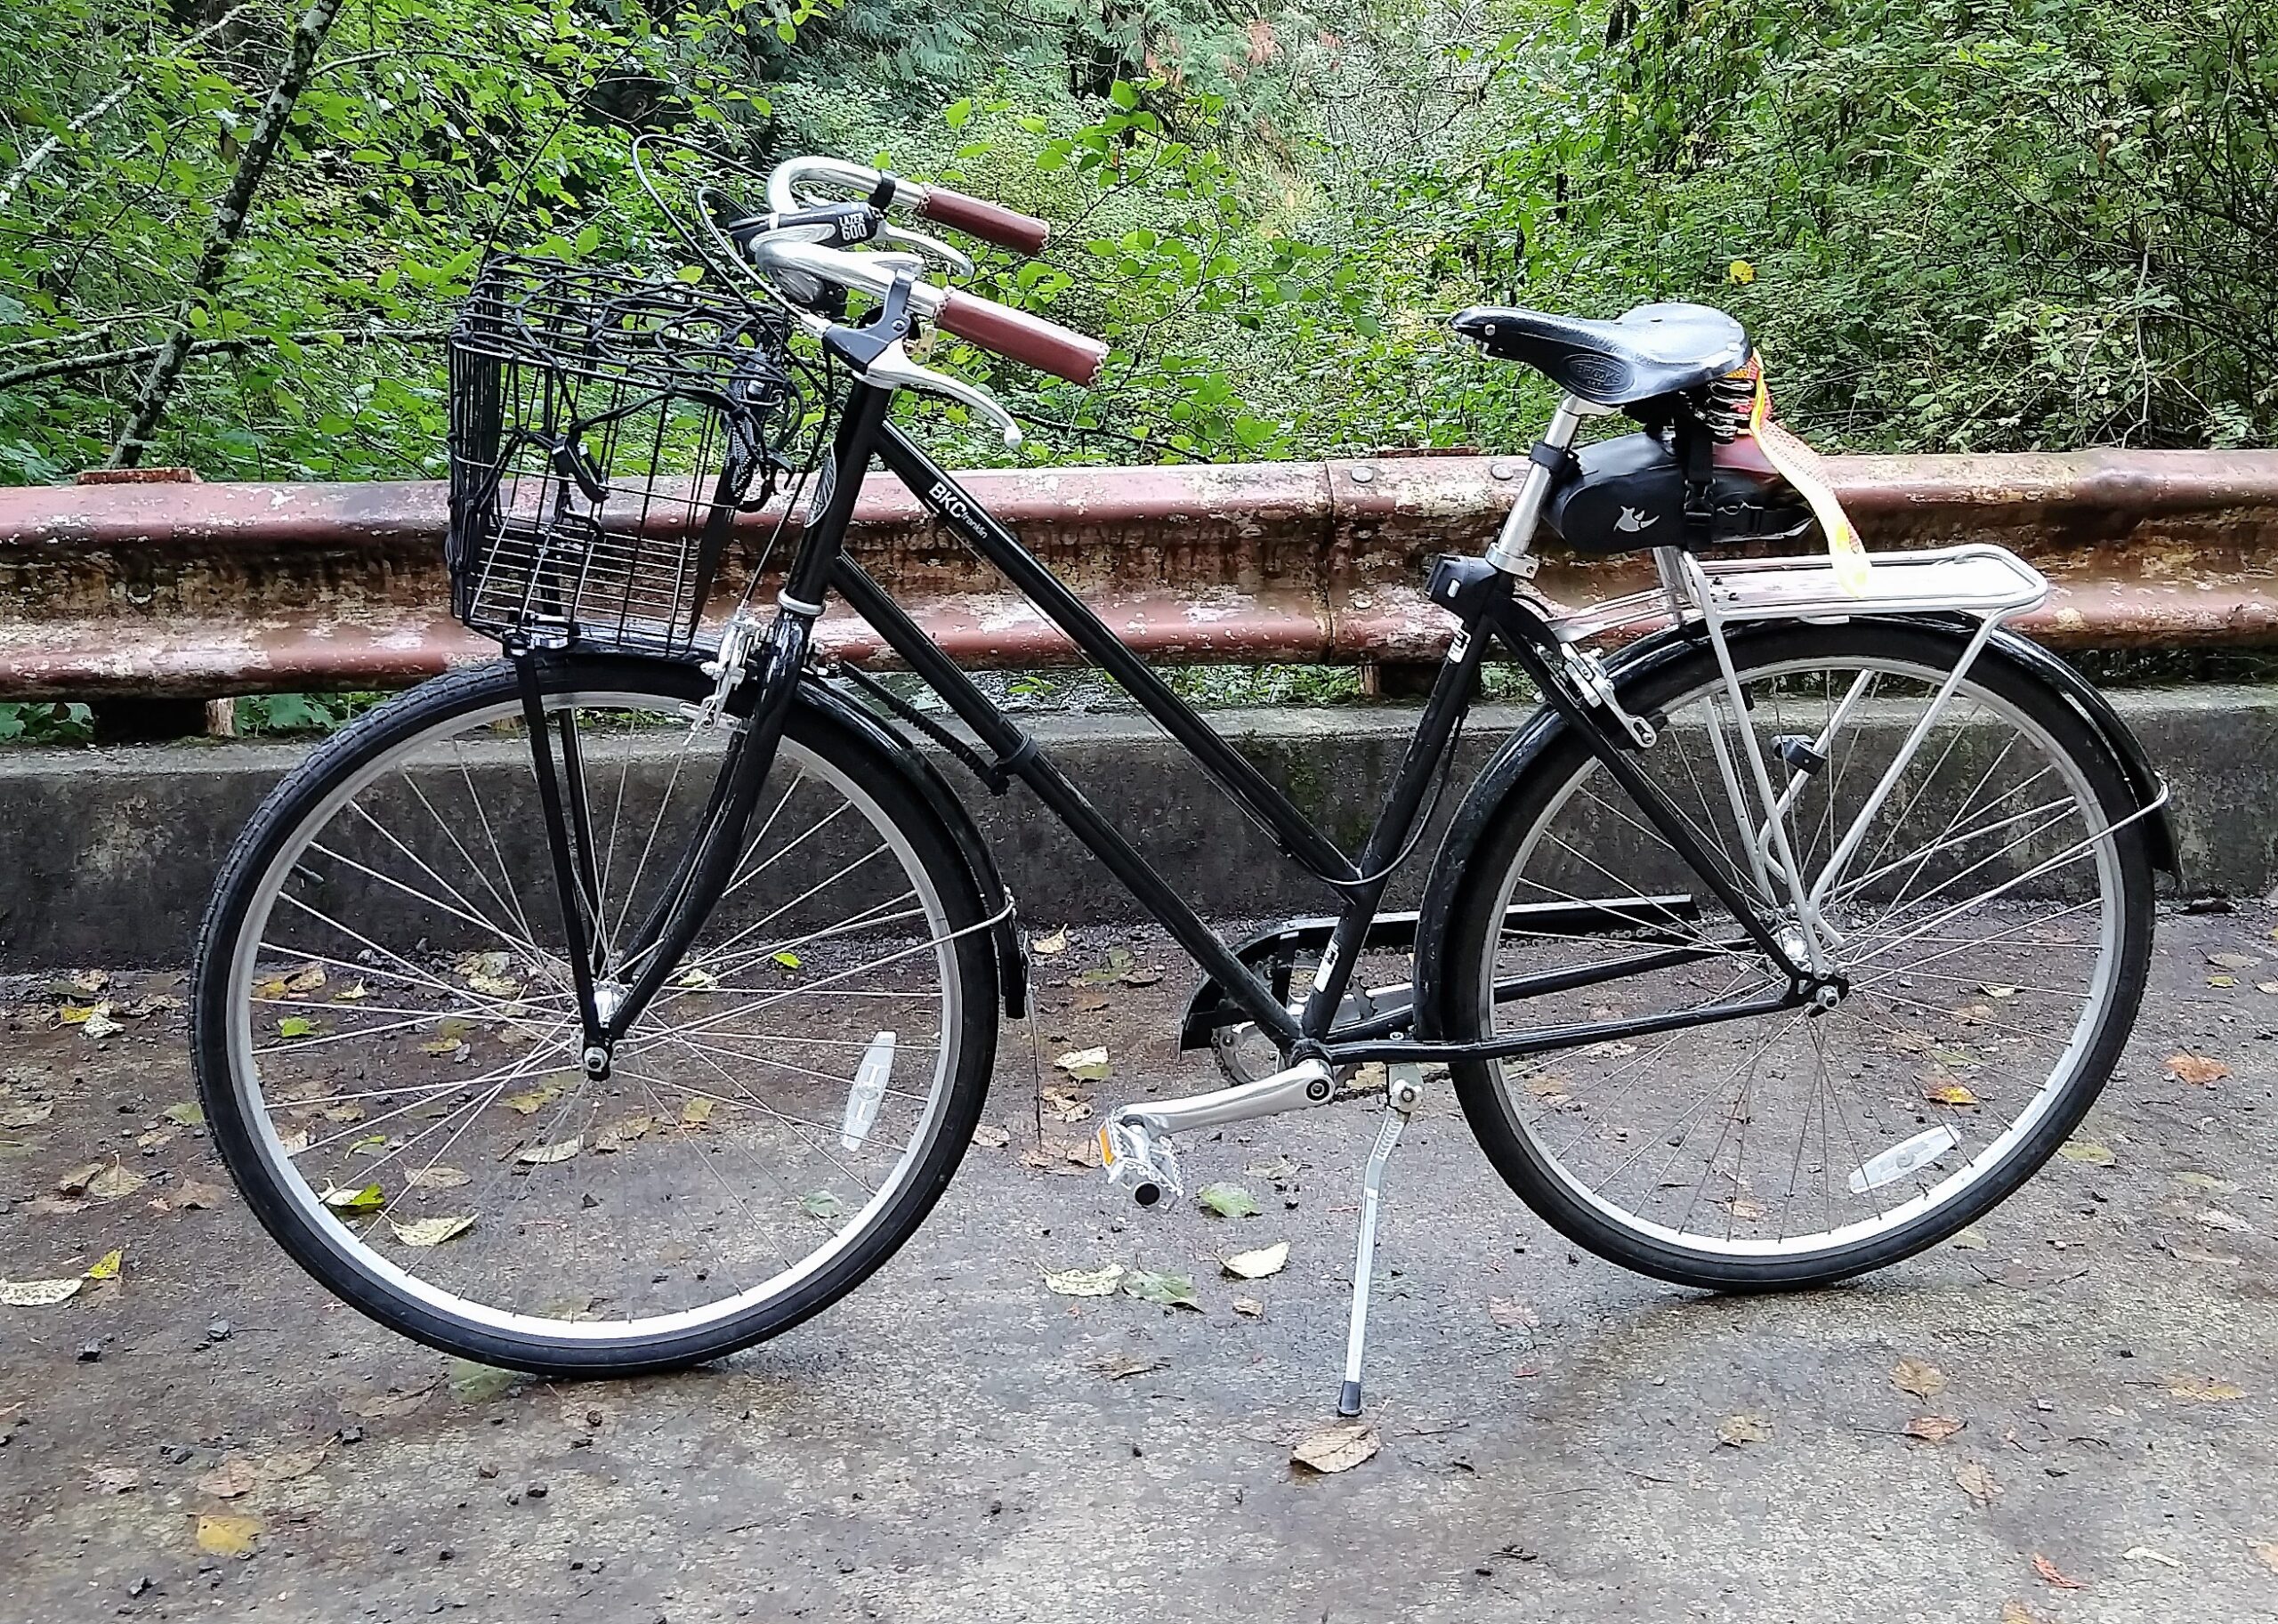
Yes, you can turn most bikes into a useful commuter by adding a rack and basket/pannier, fenders, and lighting. New handlebars for more upright posture are also helpful, but aren’t always simple to install. To commute on a mountain bike, install slick tires in addition to all the above.
However, buying a separate commuter bike is often more cost-effective than major changes like drop bar-to-upright conversions or drivetrain upgrades.
You may well want a dedicated commuter bike in the long run, but the truth is you simply don’t need it to get started. Your current bike, plus a few tweaks for practicality, is good enough at first.
By the end of this article, you’ll know how to get tons of utility out of whatever is available. Most of the things below are relatively inexpensive, especially when you account for the car or transit trips they offset.
And better yet, most are easy DIY projects for anyone with a basic set of screwdrivers and metric Allen wrenches. They take very little bike expertise—perhaps none at all. They’re also quick and relatively cheap for a local bike shop to handle, if you prefer.
1. Equip yourself for what you’ll realistically carry
I strongly recommend a basket and/or pannier for every bike commuter and city rider. it’s an incredibly comfortable way to carry a surprising amount of stuff, from your laptop to your groceries.
I’ve covered this topic in far greater detail—including product recommendations—in this guide. But for convenience, here’s a quick-and-dirty summary below.
A rack and pannier are ideal
The most comfortable set-up is usually a pannier attached to a rear rack. For more capacity, simply attach a second pannier to the other side—subject to the rack’s weight limit.
My personal set-up for nearly 5 years of daily use was the $30 Planet Bike Eco rear rack (available here) and the $125 Thule Pack ‘n Pedal Commuter pannier (available here). The Thule looks to be discontinued as of writing, but several retailers have at least a few in stock. If I were buying another right now, I’d strongly consider the similarly-priced Ortlieb Vario QL3.1 (available here).
Realistically, just about any pannier will work as long as:
- It’s waterproof, preferably with a roll-top design
- It’s not too cheap, i.e., costs $50-$75 and up
- It’s quick to remove, ideally with latches or snaps that you can unhook from a single point
It’s a great set-up since the rear-mounted weight does not affect handling. (The bike may tip a little more easily at a standstill, but it’s not noticeable when you’re moving.) Plus, many panniers—like that Ortlieb—can double as a backpack or shoulder bag.
If your bike lacks eyelets or seatstay mounts, then there are at least three options:
- Good old p-clamps with a standard rack (not as stable for heavy loads)
- A removable rack like the costly but clever Thule Pack ‘n Pedal Tour Rack (available here)
- A seatpost-mounted rack with a trunk-style bag (very limited weight and volume)
In any case, be careful and conservative with carbon frames or forks. Plenty of carbon bikes are fine to use with racks, but it doesn’t handle unintended forces gracefully—and can fail rather dramatically.
This is one case where it’s critical to take the manufacturer’s warnings at face value.
Finally, note that some modern mountain bikes need special racks. Eyelets may be an issue, but the bigger problem is axle length. In recent years, axles have gotten extremely long for strength and stiffness, but they generally can’t use the same racks as a road, hybrid, or older mountain bike.
Front baskets are decent for light loads
A cheap alternative is a front basket. The best deal going is anything from Wald, which run just $25 or $30 and are made in the USA (available here).
They’re quick to install and plenty sturdy for a modest load. But because they’re attached to the handlebars and fork or axle, front loads affect handling. They have their own momentum, which feels almost like it’s resisting your turning or straightening the bars. It also causes the front wheel to “flop” into turns (for lack of a better word). In my experience, this doesn’t become an issue until 10-15 lbs or more, but it depends on your rack, your basket, and the weight distribution.
Bottom line: front baskets are great for things like grocery bags, but panniers are more pleasant for longer rides and/or heavier loads.
Backpacks aren’t optimal, but you probably have one already
Finally, if you want to totally minimize purchases, then a backpack will also suffice. Everyone has one, so they’re an obvious starting point if you’re on a tight budget.
Now, given that backpacks are light, cheap, and simple, why doesn’t everyone commute with one? It’s simple: they can lead to neck or back strain (although snug straps help) and they inevitably give you a sweaty back on anything but a quick jaunt. But with those caveats in mind, they’re still a good way to try at least that first commute or two.
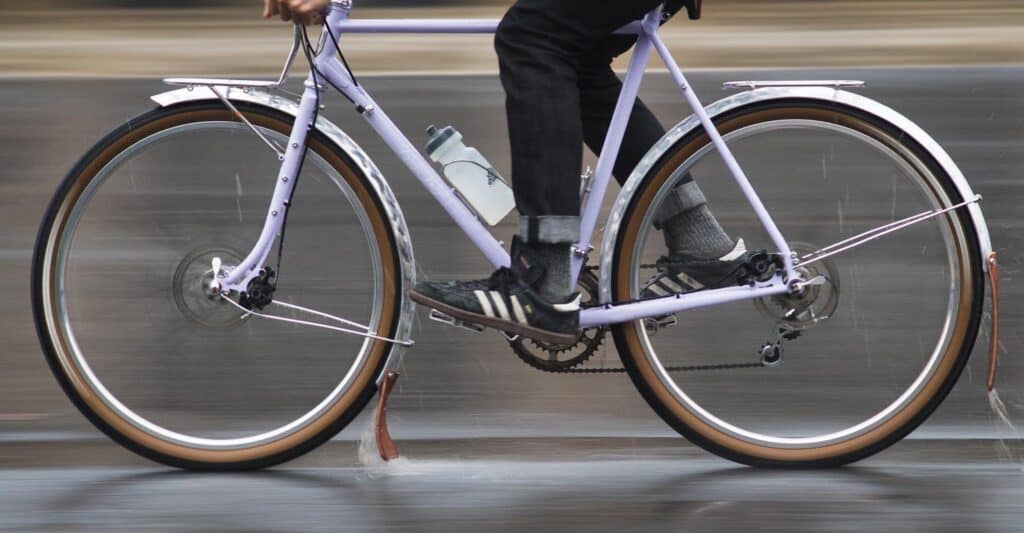
2. Install fenders for clean, dry riding
Fenders let you commute in normal clothing in all weather without getting nasty crud from the road up and down your back. They might be the single most practical cycling accessory (rather, necessity) you can get. Even in dry climates, you’ll still encounter spills and drainage water and the like.
Ask a bike shop’s help to ensure a good fit
Choosing isn’t quite as simple as you might think, so it’s worth taking your bike to a shop if in doubt. Firstly, they are sized by wheel diameter, so an older 26″ mountain will need something quite different from a 700c road bike. Note that tire width impacts the effective wheel diameter, so the same fenders might fit wider 650b/27.5″ tires and narrower 700c/29″ tires alike.
And speaking of tire width, that’s another critical part. The trick is to find fenders wide enough to clear your tires by at least 5mm on each side (ideally more) but narrow enough to fit your frame and fork.
Wheel, tire, and fender sizing varies enormously—and frame design poses other constraints—so it’s impossible to give a universal recommendation. Again, it’s well worth a trip to the bike shop if you’re not immediately sure.
It’s worth getting the fullest coverage possible. I’m mostly referring to how far it wraps around the back half of the front wheel. For reasons I’ll never understand, way too many fenders don’t go nearly far enough down the front wheel. While that will keep your face and torso from getting splashed, it does almost nothing to block your shoes and shins from filthy, drenching road spray.
Many manufacturers also sell mud flaps that extend coverage even further. Buy one if available, or grab some thick rubber sheeting from the hardware store and cut it to shape.
As with racks, modern mountain bikes may also need uncommon fender sizes. That’s partly for their comparatively gigantic tire width but, again, mostly due to axle length.
My personal choices for commuter bike fenders
For cheap and ubiquitous options, it’s hard to beat SKS Chromoplastic Longboard fenders (available here) at roughly $50. They’re admittedly not the longest in coverage, but the plastic is durable, quiet when debris hits it, and easy to twist and bend for installation. SKs also sells a longer mud flap for these (like this) but stock can be hard to find in the US.
Several brands like Velo Orange make more “boutique” fenders in stainless steel. They’re beautiful and have better coverage, but a little more expensive. Metal fenders are also surprisingly noisy when riding on gravel.
What if my bike doesn’t have eyelets for fenders?
You’d typically mount fenders to those little eyelets near the front and rear axles. But mountain bikes and racing-oriented road bikes often lack these, so what do you do?
There are two easy solutions:
- It’s common to use p-clamps, as mentioned above for racks
- Clip-on fenders like SKS Raceblades (available here) lack coverage but are incredibly easy to install
Pro tip: install fenders before your rack/basket
I learned the hard way that it’s difficult or impossible to add fenders once a rear rack is already in place. That’s partly due to a snug fit with some set-ups and partly because many bikes have a single pair of rear eyelets that both accessories will need to share. So, if you’re contemplating a rack, then a) get it sooner rather than later and b) mount the fenders first!
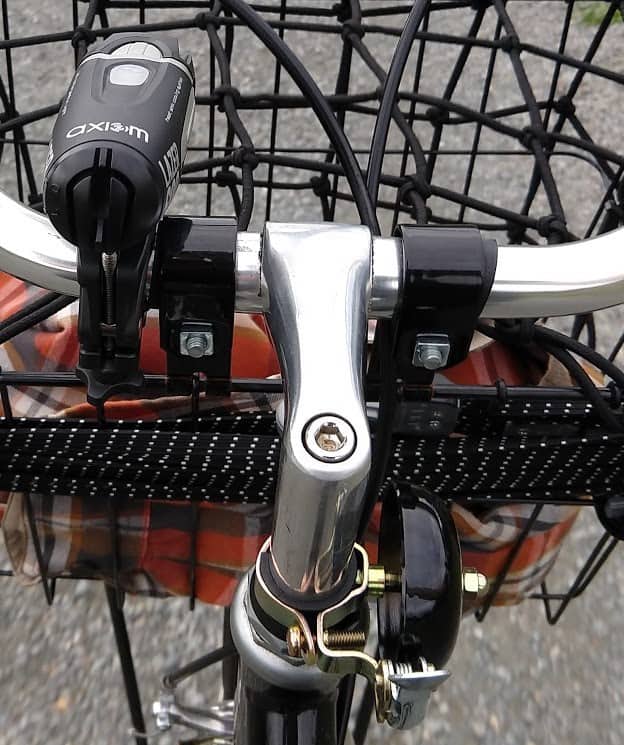
3. Lighting is critical and affordable
It seems like nearly every article here mentions lighting. But, at the risk of being a broken record, it really is that essential for commuting and utilitarian cycling in general.
The good news is that decent lighting is affordable. I’m partial to the Cygolite Dash front and Hotspot rear combo on a budget (available here). The set will run you just $80 or so as of writing, and will greatly outperform and outlast the cheap no-name lights that litter Amazon and eBay. They’re USB-rechargeable, like most modern clip-on lights, and take virtually no effort to mount or adjust. I particularly like their well-thought-out flash settings for daytime use, which is a critical safety step that new urban cyclists often neglect.
Dynamo lighting is worth considering down the road. If you’re not familiar, it uses a special front hub with a tiny generator that uses the wheel’s motion to power your lights. The infinite power supply is fantastic, and dynamo-powered headlights have particularly effective beam designs (and the light beams themselves are just plain nice, for reasons not quite worth getting into here).
But that’s an expensive proposition when you’re still feeling things out, so hold off for the time being.
Side note: any slick tires will do for now
This one only applies if you’re trying to start commuting on a mountain bike with knobby tires.
That chunky tread is terrific on loose terrain. But on asphalt, it’s another story. The little rubber protrusions add resistance, create a strangely “buzzy” feel, quick to wear out, and are surprisingly unsteady through turns on asphalt.
Without dirt to dig into, tread is a liability rather than an asset.
Some bare-bones but serviceable slicks like the Kenda Kwest (I’ve used them for years) will cost as little as $30 to $40 a piece. While they do raise the cost of this commuting experiment a bit, they’ll also make the experience significantly more enjoyable—not to mention quicker!
On a slightly technical note, you’ll need to find tires that aren’t too much narrower than your current knobby ones. That’s because a radically narrower tire won’t hook into the rim properly. Some impressively wide slicks are available these days, but they can still be a little hard to find for very wide mountain rims. Their rarity—and added raw material—leads to a substantially higher price, often closing in on $100 per tire. At that point, you’re probably better off buying an entry-level commuter bike and letting your mountain bike stay in its lane (so to speak).
How to make your bike more upright for commuting
Sitting more upright is the easiest way to get more comfortable. It also makes it easier to see what’s around you. It’s not always necessary, and I wouldn’t recommend it until you know you’ll be riding that bike regularly.
That said, below are a few quick tips, followed by an important caveat about when not to try this.
Simple adjustments for an upright ride
The first and simplest adjustment is to raise the stem. It’s a piece of cake on traditional quill stems, which is why I so strongly recommended them. It’s a little trickier on threadless stems, since they’re usually cut to length and will require a stem extender and perhaps a mechanic’s assistance.
Instead or in addition to raising the stem, you may be able to swap the handlebars for ones that rise higher and sweep back more. The Nitto Bosco bars (available here) are one of my personal favorites, and the more moderate Nitto Albatross (here) and Velo Orange Tourist (here) are also excellent.
The swap is straightforward enough assuming your bike does not have drop bars (the kind that curl down and back, as on most road bikes; more on that in the next section). If the cables are long enough to accommodate, then you can easily do it yourself, or get a mechanic’s help for fairly little money.
As you raise the handlebars, the saddle bears an increasing share of your weight, and your pelvis rotates back onto a slightly wider part of the “sit bones.” That means a wider saddle will help with comfort. I’m partial to the (rightly) celebrated Brooks B67 (available here) but there lighter and sleeker-looking options and almost any bike shop. Whatever saddle you choose for your more upright posture, it should have a firm and support feel, not a squishy and foamy one.
When to leave well enough alone
If your bike does have drop bars, then it’s more complicated. You can still raise the stem or add a stem extender, but swapping drop bars for upright ones isn’t my first choice.
Firstly, drop bar-to-upright conversion is usually complex and expensive. For instance, the new bars generally need new shifters and brake levers, which need new cable and housing, which all require significant parts and labor to set up.
If you enjoy tinkering with bikes and buying used parts, then it’s a fun weekend project. But if you’re hiring out the labor to a bike shop and buying all new parts, then your bill will run well into the hundreds.
By the way, there is a middle ground with the Nitto Albastache handlebars (available here, but often out of stock). They’re compatible with standard road levers, and probably won’t require longer cables. However, while they may raise you enough to ease neck strain, they’re decidedly not what most of us consider “upright.”
Secondly, drop-bar bikes may handle poorly with upright bars. They usually have steep angles and short wheelbases for a lively feel with drop bars. However, what’s merely “lively” can become twitchy and unpredictable as swept-back bars increase your steering leverage and shift your weight up and back.
Some conversions do work out OK. If you’re handy, if you have cheap parts to play around with, and if you like the ride quality afterward, then that’s great! But those things aren’t guaranteed, so newer riders in particular should avoid the cost and hassle of a drop-to-upright conversion.
Bottom line: what you need and when to upgrade
The three things outlined above are enough to get you started with utilitarian cycling.
A rack-and-pannier or basket set-up (or even a backpack) lets you carry essentials for your regular trips. A set of fenders with the longest possible coverage keep you dry in rain, through puddles and run-off, etc. Most importantly for safety, clip-on front and rear lights will help you see by night and be seen by day. Finally, if you’ll commute on a mountain bike, then slick tires will make a noticeable difference in speed.
If you’ll use the bike regularly, then it’s also worth considering some tweaks or minor part swaps for more upright posture.
But when is it time to think about a new, dedicated commuter bike? Your literal mileage may vary, but keep an eye out for two things.
You just can’t get comfortable
When you start riding a purpose-built bike in a different context, it can be surprisingly hard to really settle into the fit or feel in that new setting. What felt fun on singletrack or snappy when hammering up a steep climb may be surprisingly unsatisfying for carrying a little load around town.
And when minor posture adjustments still don’t suffice, further upgrades can become very complicated very quickly. You’ll be happier, and ride more consistently, if you take the plunge on a dedicated city bike that fits appropriately for that sort of use.
For what it’s worth, I recommend that everybody take a spin on a proper city bike, preferably a Dutch-style one or something close to it, just to understand what a truly comfortable bicycle actually feels like. I grew up mountain biking and got into road riding later, yet never realized it was possible to be that comfortable until I hopped on a WorkCycles a few years back.
You’re eyeing very expensive or complicated upgrades
Everything discussed earlier may run you as little as $200-$300 combined if you do the minimal installation work yourself.
But beyond those basics, costs start to climb quickly and returns diminish. It’s often more cost-effective to get a separate commuter than to spring for things like new wheels, dynamo lighting, or major drivetrain upgrades. Naturally, this all depends on exactly what you’re looking for and how much mechanical work you can do yourself.
If you’re at the point where buying a dedicated commuter/city bike makes sense, then check out my guide to what to look for. It overlaps with the above, but there are some other suggestions and criteria that aren’t often mentioned in our intensely sport-driven cycling market.